
5 Steps For Making Your Own Vegetable Broth
Making Your Own Veggie Broth Puts You In Control of the Ingredients
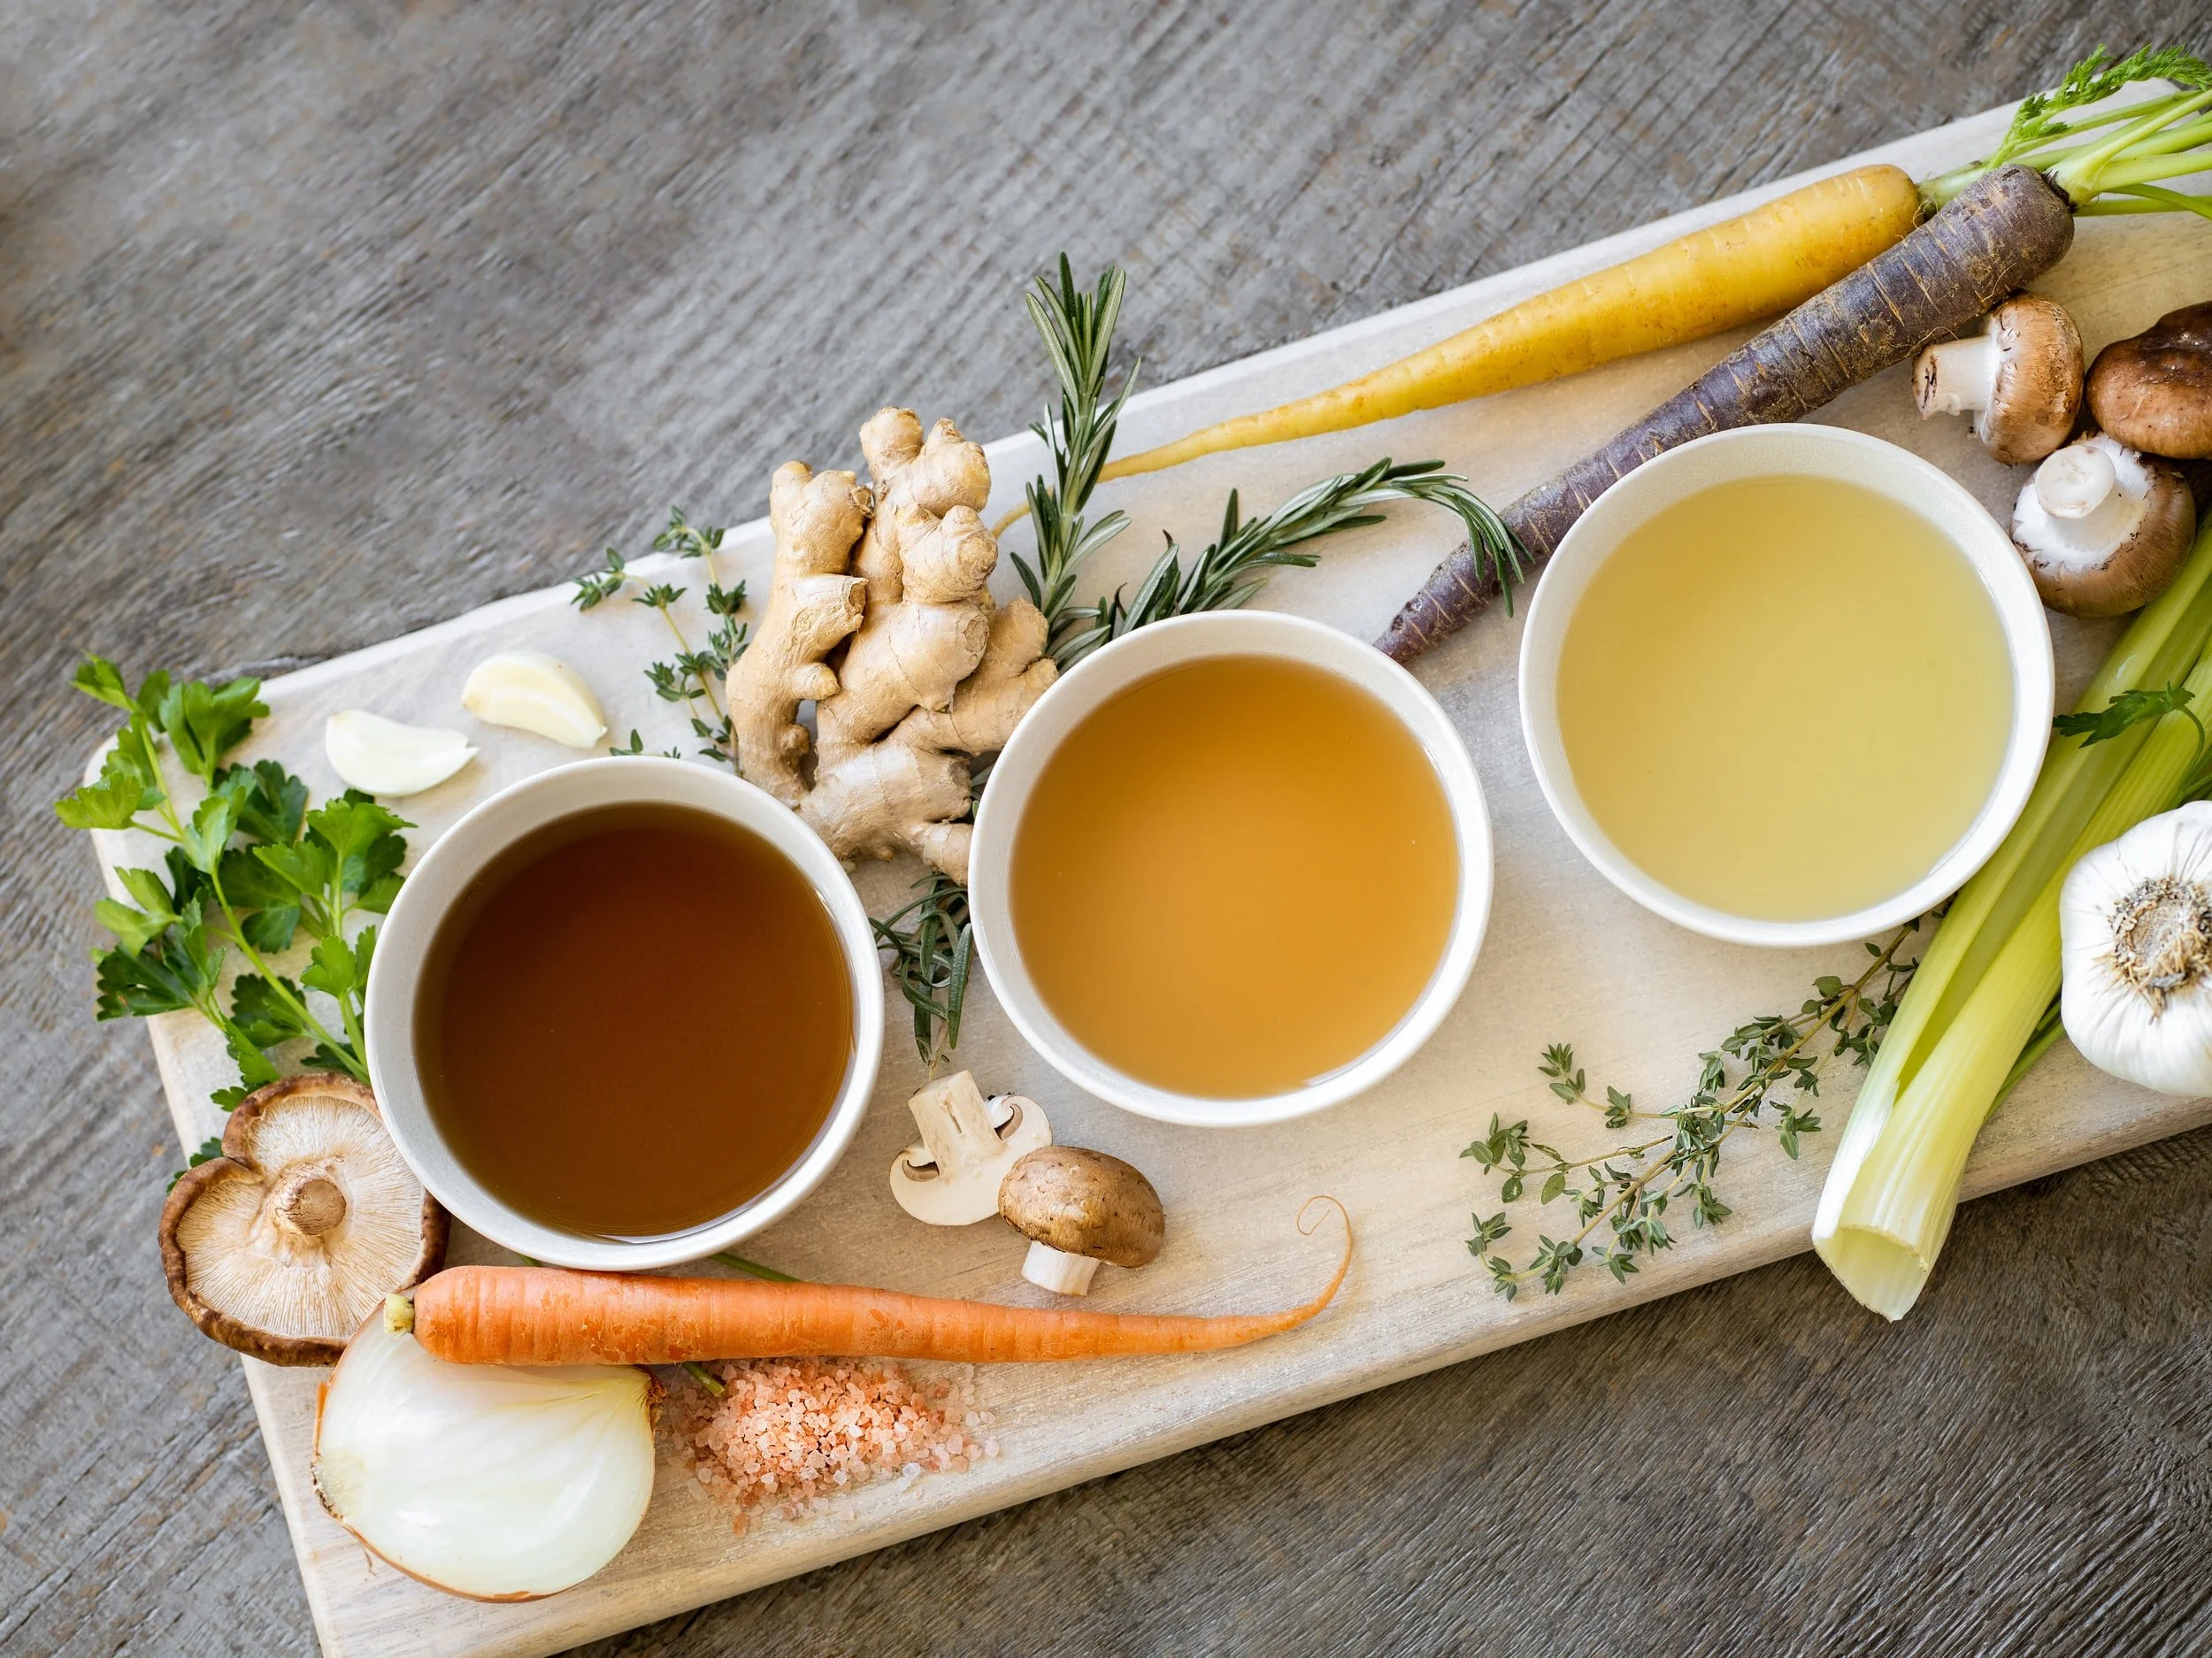
I love using vegetable broth, yet so many of the store bought ones are super high in sodium, full of preservatives or other additives you can’t pronounce. I do have some favorite veggie broth brands that I love, but that’s not what this post is about. I want to walk you through making your own vegetable broth from vegetable scaps that you have at home.
We use tons of fresh fruits and veggies daily in our home and thus have tons of scraps…you know the ends, the over ripe parts, the bruised parts and lots of seeds! Instead of throwing these out, I started making my own vegan/vegetarian broth.
I put the fruit scraps to good use too but I’ll save that for another post.
Ok so let’s dive in!
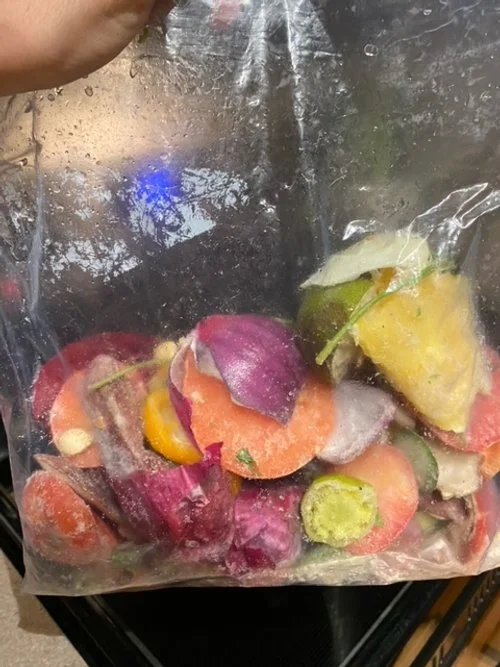
Step #1 - Save Your Vegetable Scraps
Save your veggie scraps.
I find the simplest way to do this is to throw them in a freezer bag and keep it on the door of the freezer. Everytime I use any type of vegetable, I save the parts I don’t use. This could be the stems, the bruised parts, the seeds, even parts that are a bit over ripe. It really doesn’t matter as you’re going to boil it all down the road and the flavor is what you need.
Don’t worry about WHAT types of vegetables are thrown in the bag together. My most recent batch of broth contained:
tomato
jalapeno
mushroom
onion (red/white) * the red onion will turn the broth a pinkish color…so I do sometimes pull it out if I’m wanting vegetable stock for clear soups
squash
broccoli
cauliflower
carrot
ginger
garlic
sweet potato
parsley
basil
I saved about a months worth of frozen vegetable pieces before making broth.
Step #2 - Gather Containers to Store the Broth
When I first started making my own vegetable broth I used repurposed containers. You’ll need enough to hold 10-15 cups of finished broth, so peparging ahead of time is key so you’re not left with tons of liquid broth and no where to put it. The broth lasts awhile in the freezer, so you’ll always have some on hand!
Here are some suggestions for storage containers:
Save glass jars and repurpose them( my favorite is large pasta sauce jars) However, glass jars don’t freeze well so be careful as they crack. They’re fine for storing in the refrigerator
Plastic storage containers
Canning Jars
Save and repurpose the plastic food take out containers
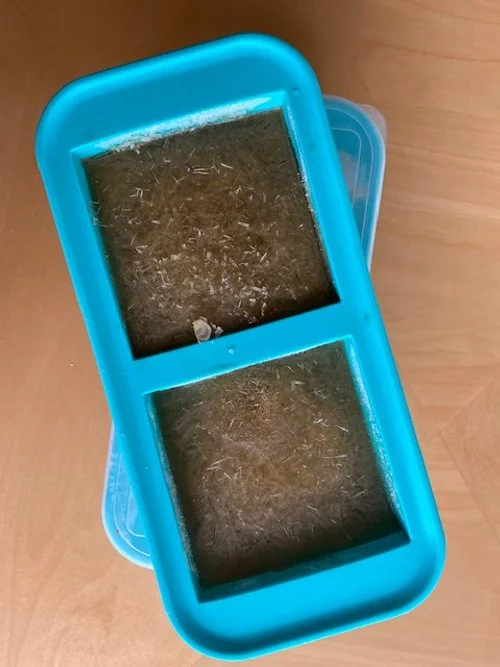
Souper Cubes (See pic below : you can get these HERE ) ..I have used all of the storage containers ABOVE before getting these Souper Cubes..and I am in LOVE. These come in several sizes : I got the 2 cup (extra large) and will be getting more as I still had to use jars also!

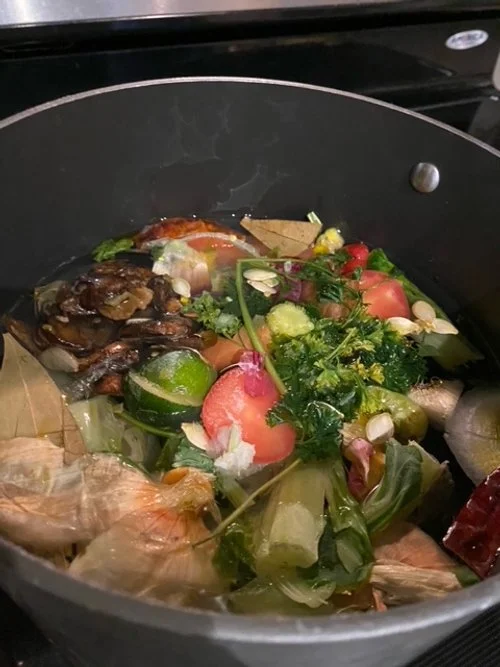
Step #3 - Making Your Vegetable Broth
I’ve used both a crock pot and stove top method, neither is better than the other. The stove top method is quicker, so if you can watch the pot boil, this method is for you! The crockpot : you can add your veggie scrapas and turn it on and leave it to do it’s thing.
Here’s all you need to do with either method :
Fill soup pot or crock pot with water
Throw in frozen vegetables scraps
If I have a full freezer bag full of veggies , I use 1/2 to make one batch of broth which when finished is 10-15 cups of broth
Add bay leaf, salt, pepper ( I like to throw in a dried chili pepper)
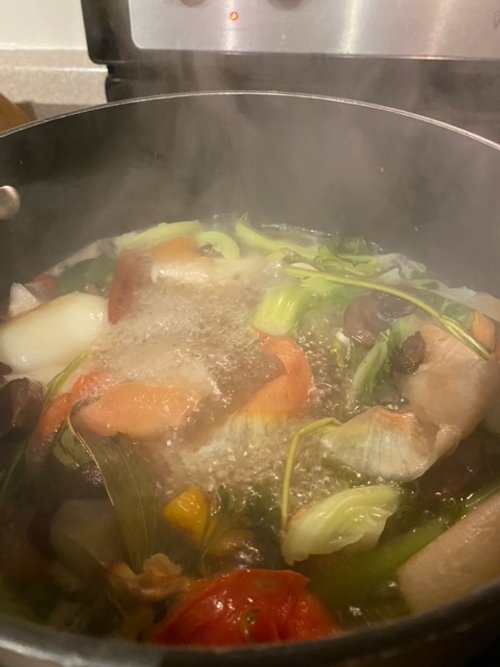
Bring to a boil
Stove Top - Bring to a boil and then turn down to low and simmer for an hour ( I add another 4 cups of water as it evaporates from boiling)
Crock Pot - turn on High For about an hour then turn to Low for 6-8 hours ( you can leave on Low for most of the day is you need to)
Taste and add spices if needed : all of the veggies natural flavors will start to emerge over the cooking time
Step #4 - Storing Your Vegetable Broth
This part is crucial ( learned by mistake ) .
Allow the vegetable broth to cool completely..don’t skip this step!
****IF you skip the cooling part , you’lll end up with broken glass jars, melting plastic and possible burn yourself on transfer…so please please let it cool!
Once broth is completely cool you can get started with transfering it to storage containers
Strain broth( i put a collander ove a large metal bowl to strain)
You can compost veggies or toss
Pour strained broth into your containers ( make sure you have enough for 10-15 cups of broth)
You can store some in the refrigerator and some in the freezer
Refrigerator storage( lasts about 1 month) : I store repurposed glass jars of broth on the door
Freezer storage ( lasts about 6 months) : I no longer use the repurposed glass jars in the freezer as they cracked, I store my broth in the SOUPER CUBES now which is super simple and they take up less freezer space. You can just pop out a cube when ready to use. .
Step #5 - Enjoying Your Homemade Vegetable Broth
It’s time to enjoy your vegetable broth! I use it for so many things , here are some examples :
Use as a base for soups, stews , chili
Use in place of oil for stirfrying
Use in pasta sauce
Use instead of water to make Rice/Pasta Dishes
Use in mashed potatos/risotto
Substitute for water anywhere you’re wanting to add more flavor to a dish!
Vegetable broth is super versatile and making your own is a simple process. You can control whats in your broth when you make it on your own and can have confidence that it doesn’t include preservatives or additives and huge amounts of sodium. If you make it , please let me know!
In Wellness,
Angel